When it comes to gathering email addresses during OSINT investigations, theHarvester is among the most efficient and beginner-friendly tools available. Not only does it do a great job of collecting email addresses, but it also excels at finding subdomains , sometimes even outperforming tools built specifically for subdomain enumeration.
One standout feature of theHarvester is its ability to pull emails from PGP keyservers, making it uniquely capable of identifying email addresses that might be overlooked by other tools. This can be incredibly useful when investigating individuals or members of an organization who use PGP encryption for their communications.
Step 1: Installing theHarvester
If you’re not using Kali Linux, you can download theHarvester directly from GitHub:
git clone https://github.com/laramies/theHarvester
For Kali users, the tool typically comes pre-installed. If it’s missing, just run:
sudo apt install theharvester
Note: The repository uses a lowercase “h” in theHarvester.
Step 2: Understanding theHarvester’s Syntax
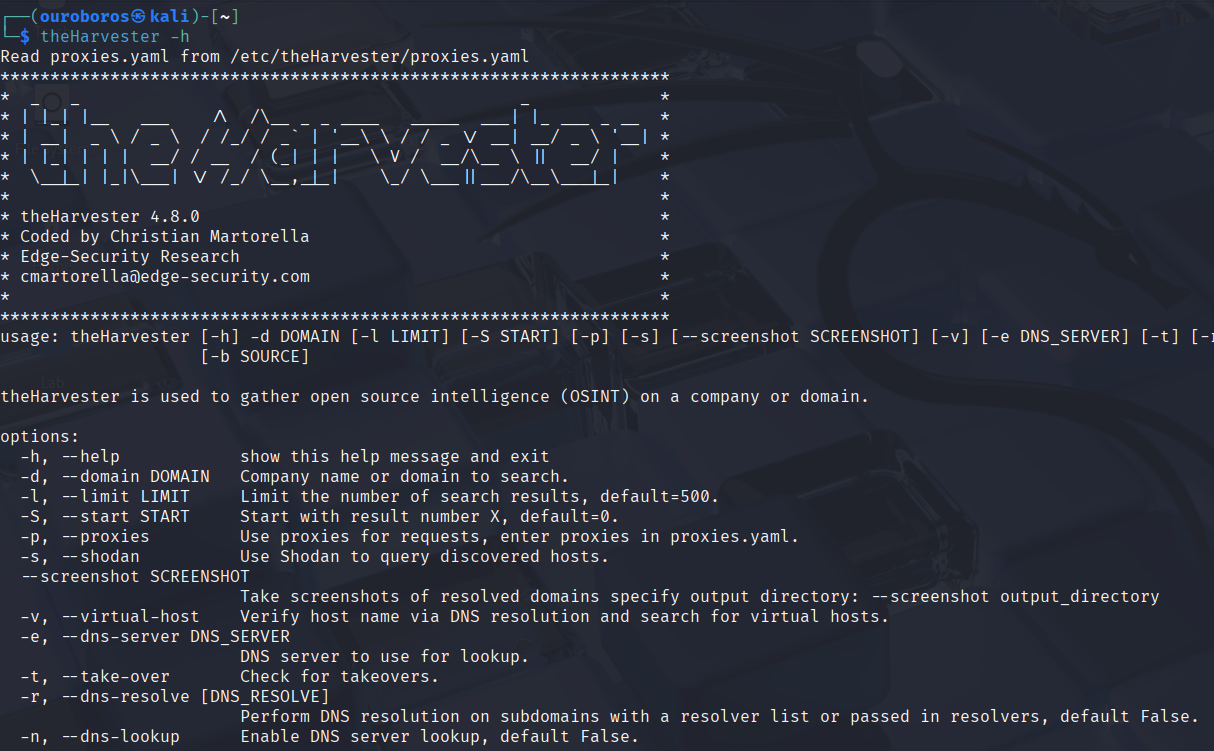
You can view the tool’s usage instructions with:
theHarvester -h

The basic command structure is:
theHarvester -d <target_domain>
To specify the data sources the tool should use, apply the -b option. Available sources include:
- Baidu
- Bing
- Bing API
- Certspotter
- CRTSH
- DNSdumpster
- Dogpile
- …and many more.
To pull data from all supported sources, just use:
-b all
For enhanced results, especially from APIs, you’ll need to add API keys. Open the configuration file located at:
/etc/theHarvester/api-keys.yaml using an editor of your choice, in my case I have used nano.

Insert your keys for the services you plan to use, then save the file.
Step 3: Running a Scan on a Target
Let’s say we want to collect OSINT data on Tesla. The command would look like this:
theHarvester -d tesla.com -b all -f tesla_results
Here’s what each flag means:
- -d tesla.com: Specifies the target domain.
- -b all: Tells the tool to use all available data sources.
- -f tesla_ results: directs the tool to send the results to a JSON and XML file.
Once the scan finishes, you can open the results in a browser:
firefox tesla_results

This will display the structured data collected from the scan.
Conclusion
In the world of OSINT, theHarvester should be one of your first tools for gathering email addresses, hostnames, and subdomains linked to a domain. While it’s a solid email scraper, its real strength may lie in its ability to discover hosts and subdomains, often surpassing even specialized tools like dnsenum in that area.


0 Comments